Virtual Presenter Tips for Going Live from an In-Home Studio (C.A.L.L.S.)
By now we’ve all attended several virtual events, if not more, and many of us planned, hosted or produced dozens of them and now that virtual events have finally gained a strong foothold within the events industry as one positive byproduct of the current pandemic, we’ve formulated a pretty good idea of what to expect from a virtual event. Designing a virtual event may be vastly different from planning a live one, but it can be just as successful if done right, and especially when the virtual presentation and and user experience ensure that the virtual event experience is cohesive and engaging.
Most virtual events (that are not trade shows or conferences) have similar elements that all put together construct the main virtual event’s “make-up” or composition:
- 15 to 30 min of pre-event roll (timer, video, ppt slides – basically anything that plays on the screen while you’re waiting for the event to start, preferably with background music, although having a pre-recorded entertainment element here is even better)
- 45-60 min of the actual live event, which would include elements such as:
- your best content available (organizational/narrative video, slides, etc) embedded with dynamic visuals
- emcee/host/presenter/moderator – live from studio (with multi-camera view switching)
- speaker(s) – keynote or not – live from in-studio or calling in from remote location
- engagement opportunities (chat, Q&A, polling, virtual meet-p rooms, event hashtag
- fundraising opportunities (silent/online auction, fund-a-need, donations, matching gifts challenges, etc)
- graphic elements with a strong visual theme throughout the event to reinforce the narrative
- streamlined transitions in and out of the different above-mentioned elements
In order to produce this type of virtual event that lives outside of the Zoom realm, you will require the use of a fully-equipped production broadcast studio to facilitate this type of webcasting experience that has a high production value and a Virtual Event Producer that understands the nuts and bolts of the entire operation and can create this type of experience and put together all the pre-event prerequisites for an engaging, memorable and visually stimulating event.
A Virtual Event Producer will bring on, a team of AV professionals and graphic designers – experts in virtual event technology and live streaming – and will oversee every audio-visual & lighting part of the virtual event broadcast ensuring there are no issues during the live broadcast, especially if the event organizer is unfamiliar with the technology used.
One loose end when it comes to this high-value production is the remote calling-in of virtual speakers/presenters/emcees/auctioneers via their video platform of choice (most commonly used now Zoom/Meet/Microsoft Team/vMix etc) and this post is set to provide a few how-to tips on preparing a remote speaker/presenter for their moment of fame.
As a speaker or presenter you might not want to focus on all the tech, or be the tech when it comes to your own at-home remote setup, but unfortunately you don’t have a choice in this virtual world. Between you, your content and your online audience is technology. And the delivery method now is audio and video, with most of the aching parts being proper lighting and location. In order to deliver a successful virtual live experience (whether that’s you hosting the event or presenting your content online) you have to have all of these five CALLS (camera, audio, lighting, location & internet speed) elements and understand each one of them and how-to make proper use of each. If that sounds too hard, despair not, hire a professional to walk you through each one of those elements or set it all up for you, so you can deliver your content and your message successfully from the comfort of your home.
During the initial speaker assessment and their technical at-home setup, we want to focus on these four main C.A.L.L.S. elements, as it follows:
C – camera equipment
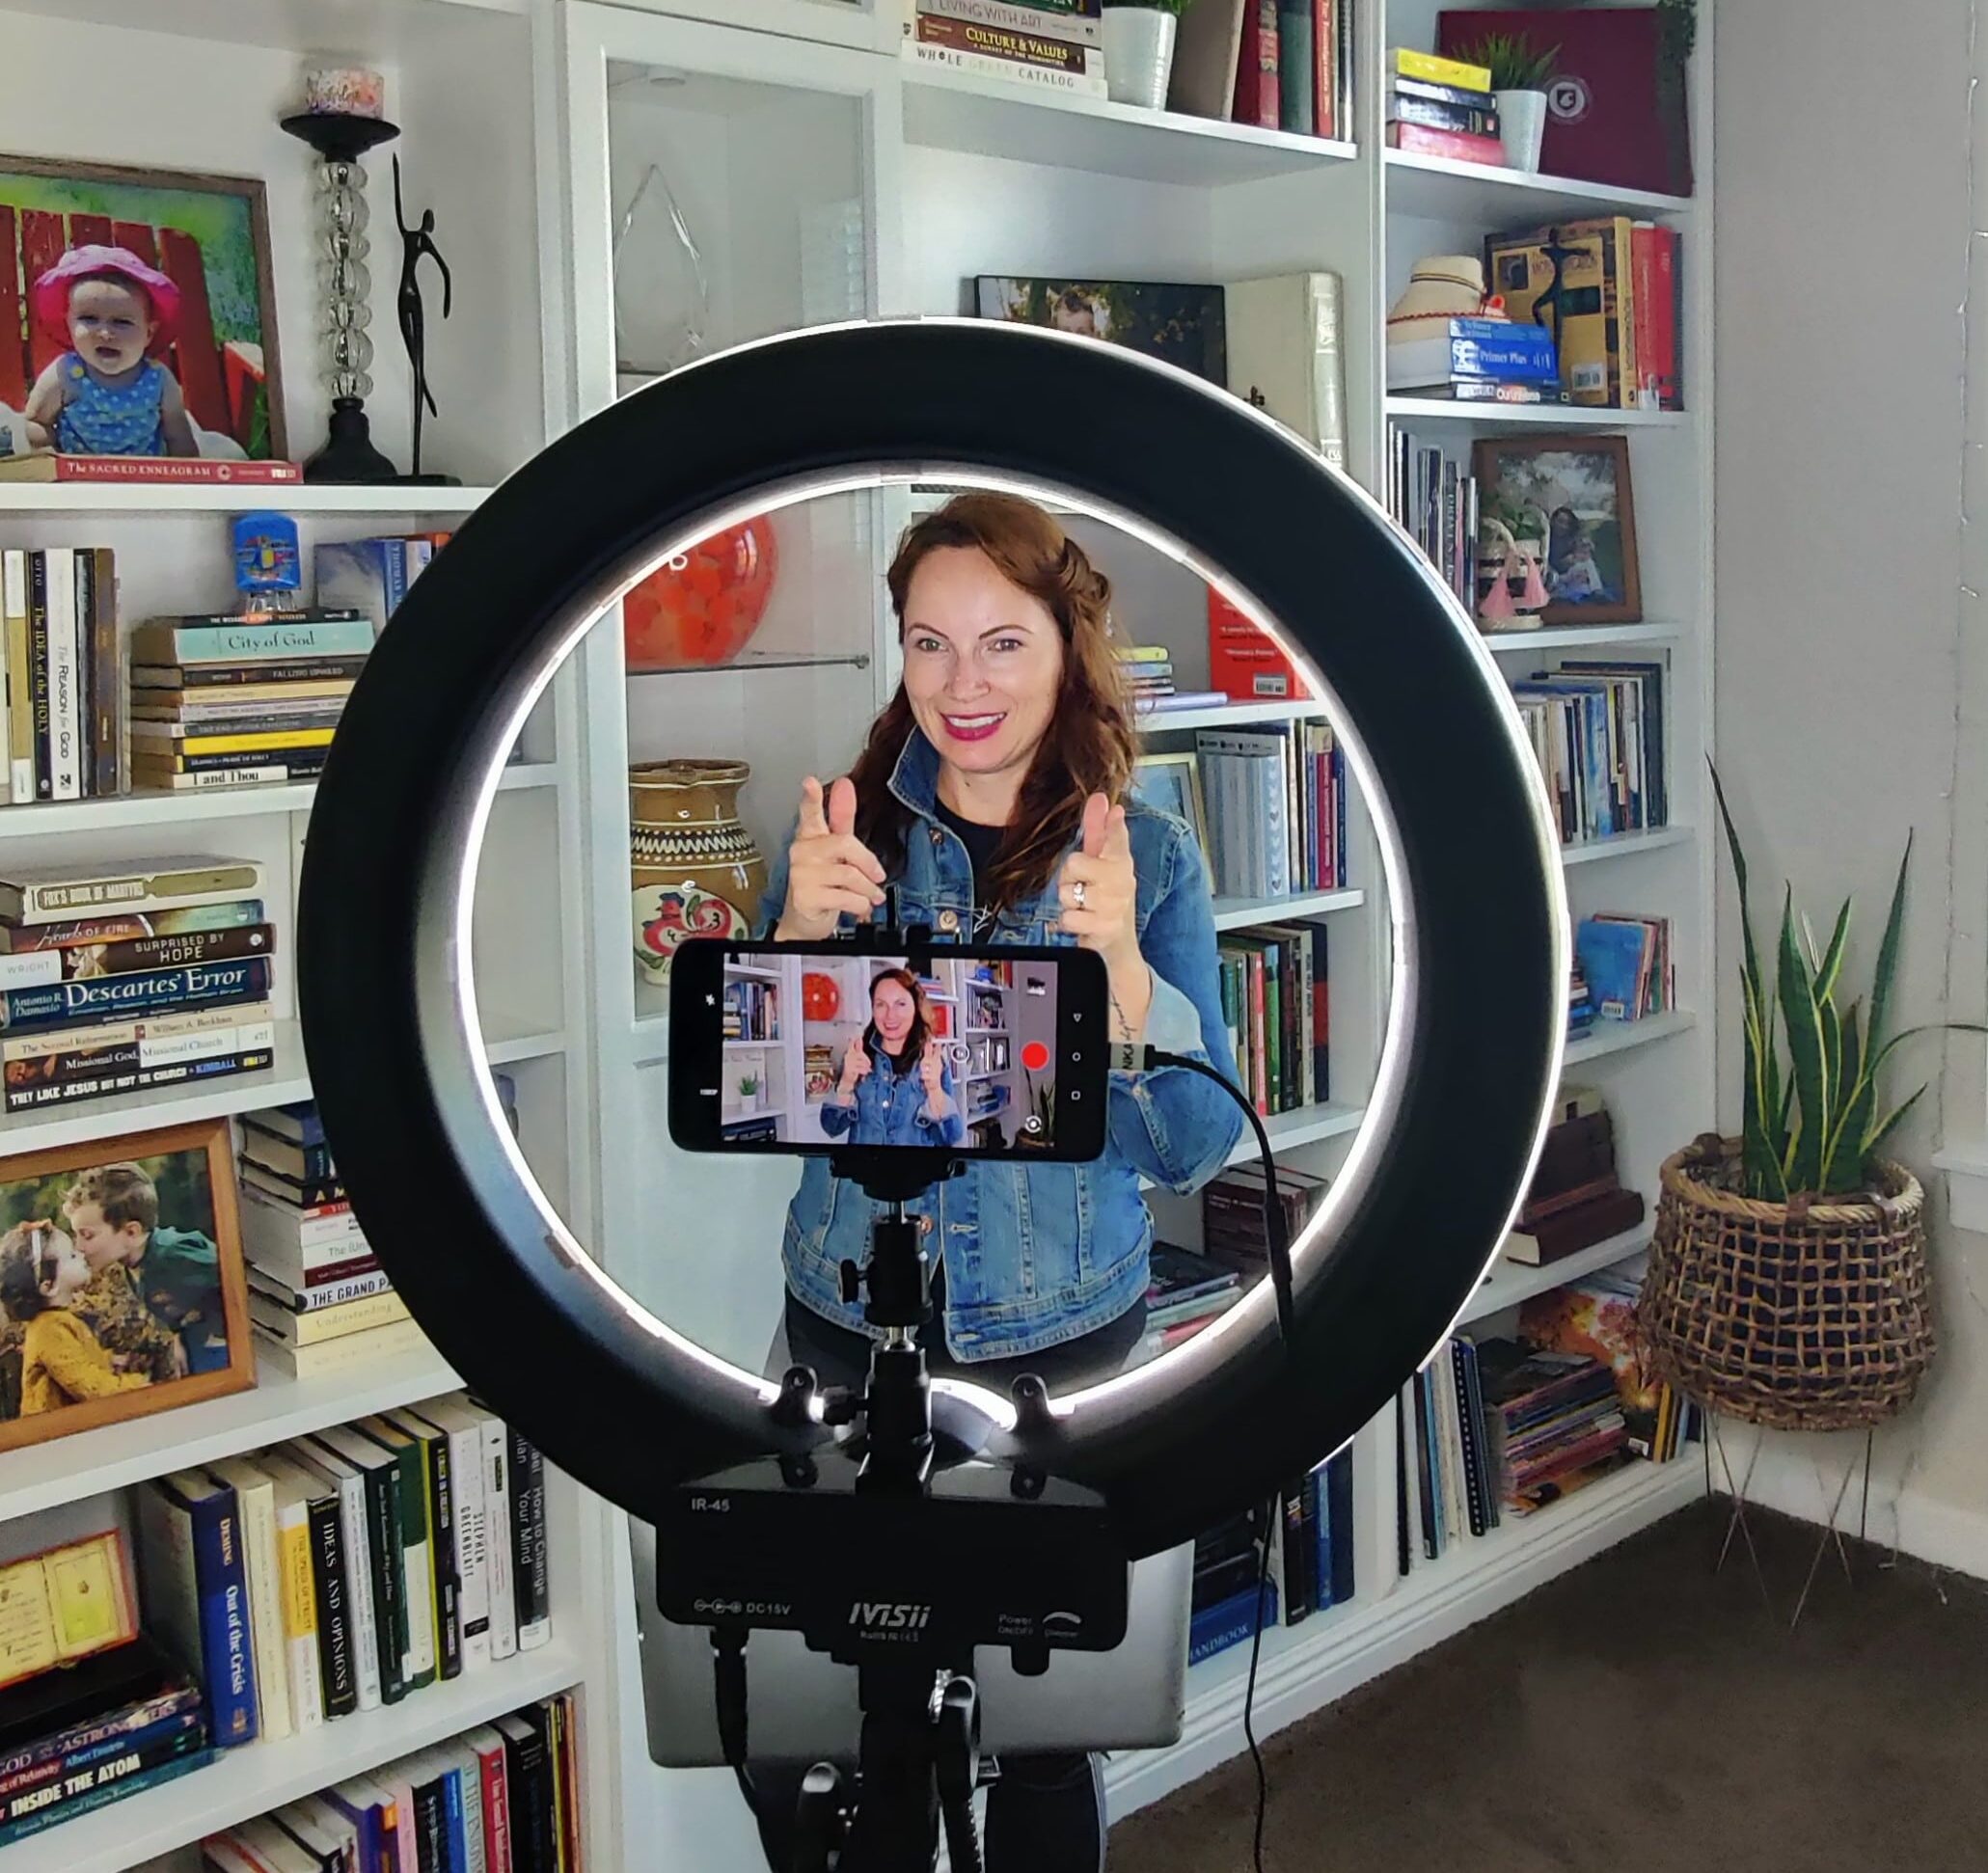
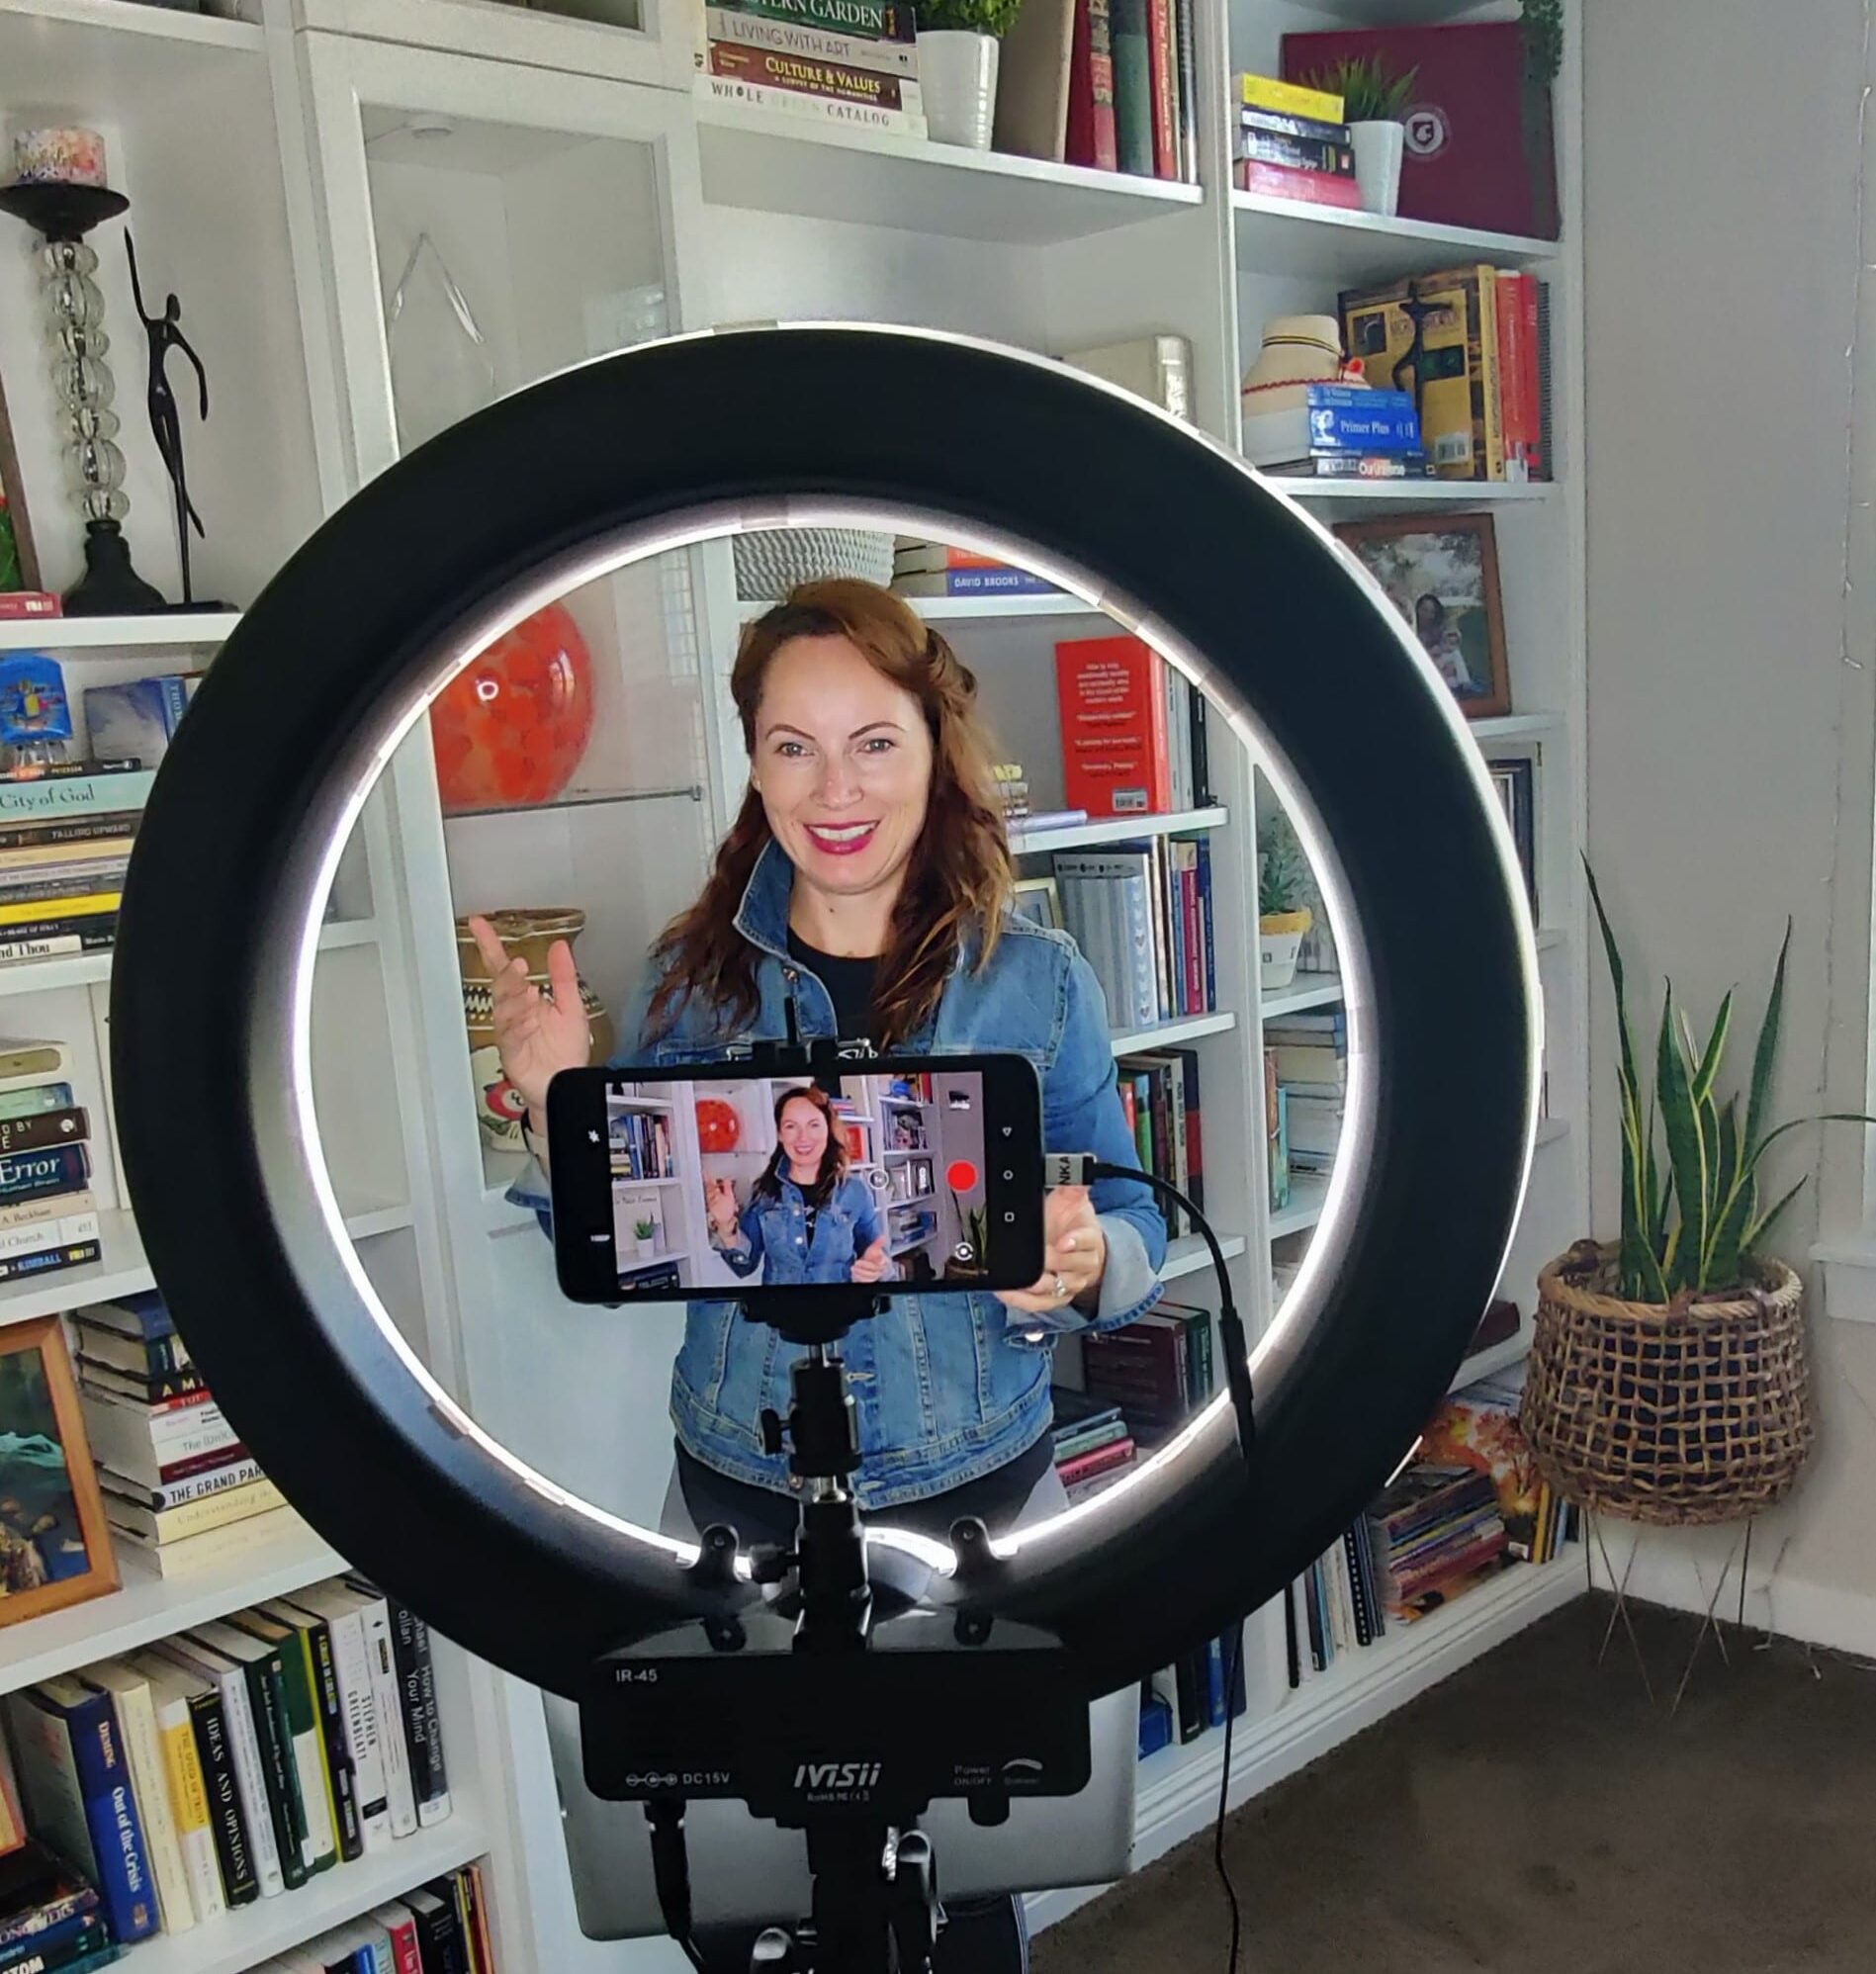
If you don’t have access to an actual HD video camera, a built-in computer/laptop camera, smartphone camera, USB camera could be used as well. If you’re using your smartphone’s camera, using a tripod like this one is recommended to keep the image stable.
Make sure the orientation of the video is in landscape more (no vertical Instagram stories portrait mode-on kind of videos please).
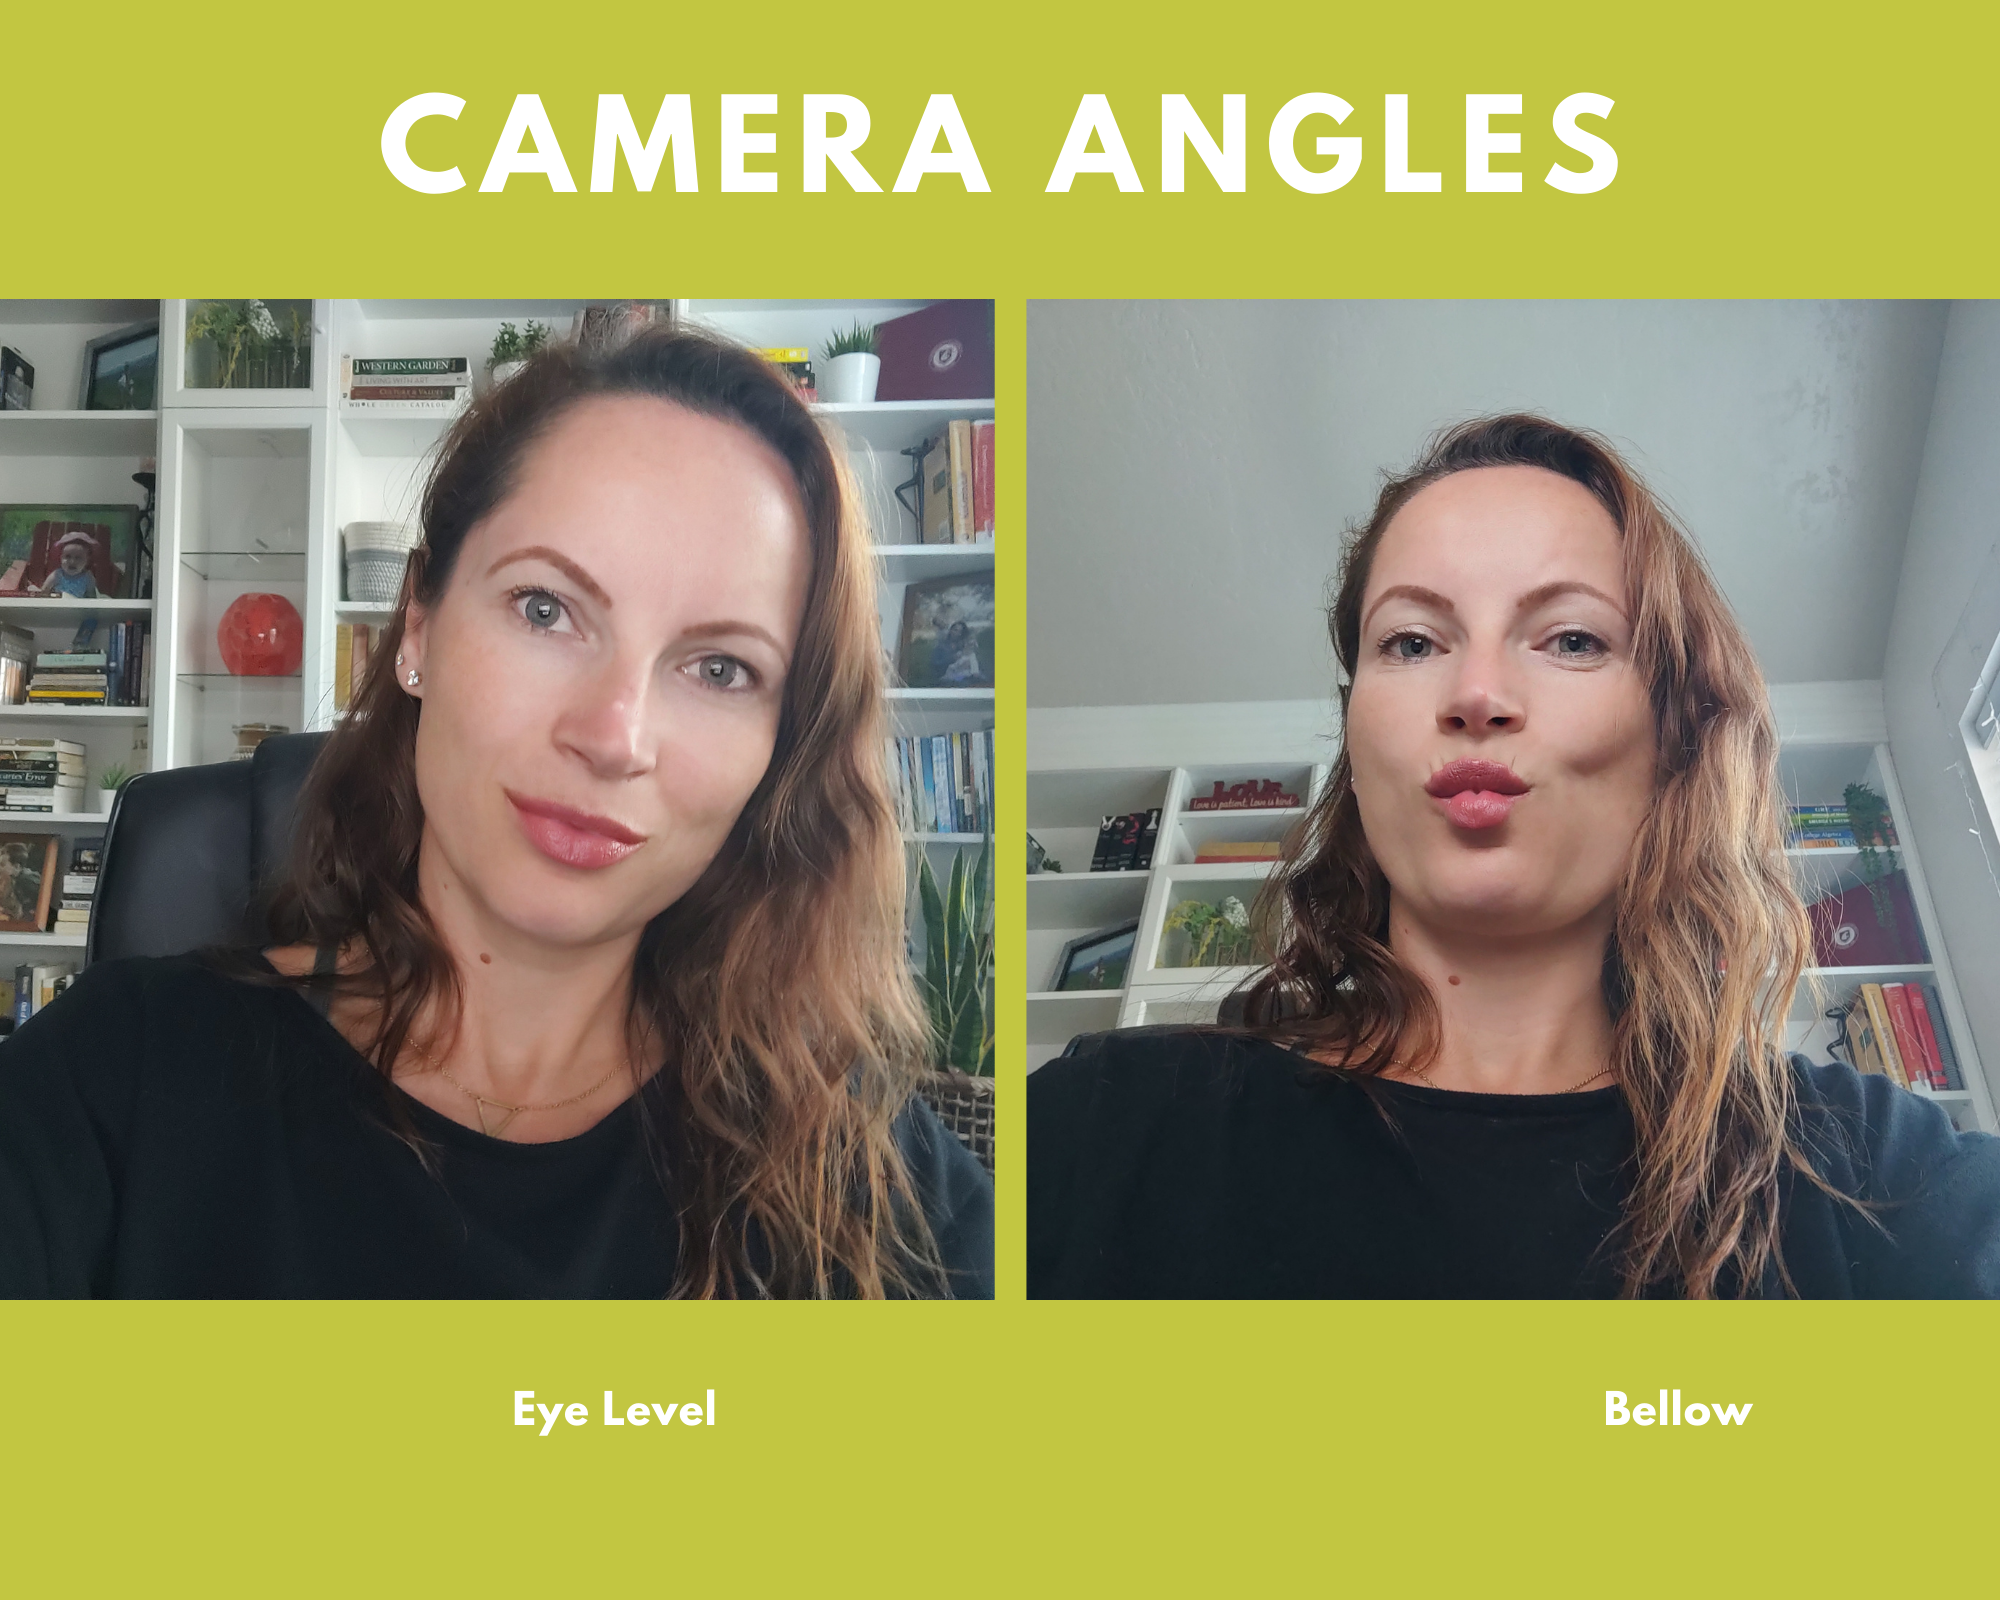 Also, stay away from Snapchat-like filters and the zoom function on your phone. Position yourself relevant to the camera position without using the digital zoom function which reduces the quality of your video’s resolution. The smartphone’s camera is most times twice the resolution and MP than the front camera, so use the back camera whenever you can. Make sure the position of the camera is either at your eye level or slightly above. One of the biggest mistakes we see with people using their built-in laptop camera is the image shooting from below which is not at all ideal nor flattering.
Framing is another important consideration when it comes to video. You want to make sure that you center your head in the frame, you look straight at the camera lens like you would into someone’s eyes, there will be plenty of eyes staring into yours. People want to see your eyes, they connect that way. Because if they can’t see your eyes, they won’t trust you.
A – audio (aka sound)
When it comes to audio, crappy audio never goes. People tolerate a lower resolution video of you than a high quality HD video with inteligible sound. In any TV production, audio always takes priority and virtual events are no different. If you don’t have a USB podcast microphone you can easily connect to your laptop, consider buying a lavaliere microphone that connects either to your laptop or to your smartphone device and will provide pick your voice clearly, without all the background noise that is usually present when not having a close-up microphone. This is a very inexpensive solution that will make a world of difference to the quality of audio in your videos. If all you’ve got is a pair of AirPods, use those, or a pair of earbuds with a built-in microphone will do too. Again, crappy audio never goes during a virtual event!
L – lighting
One of the best tips we have here is to do a lighting test for yourself at the exact time and day that you will be going live. If your virtual technical run-through is scheduled during the day and it goes fine but the event happens in the evening, you have to be mindful of the lighting setup.
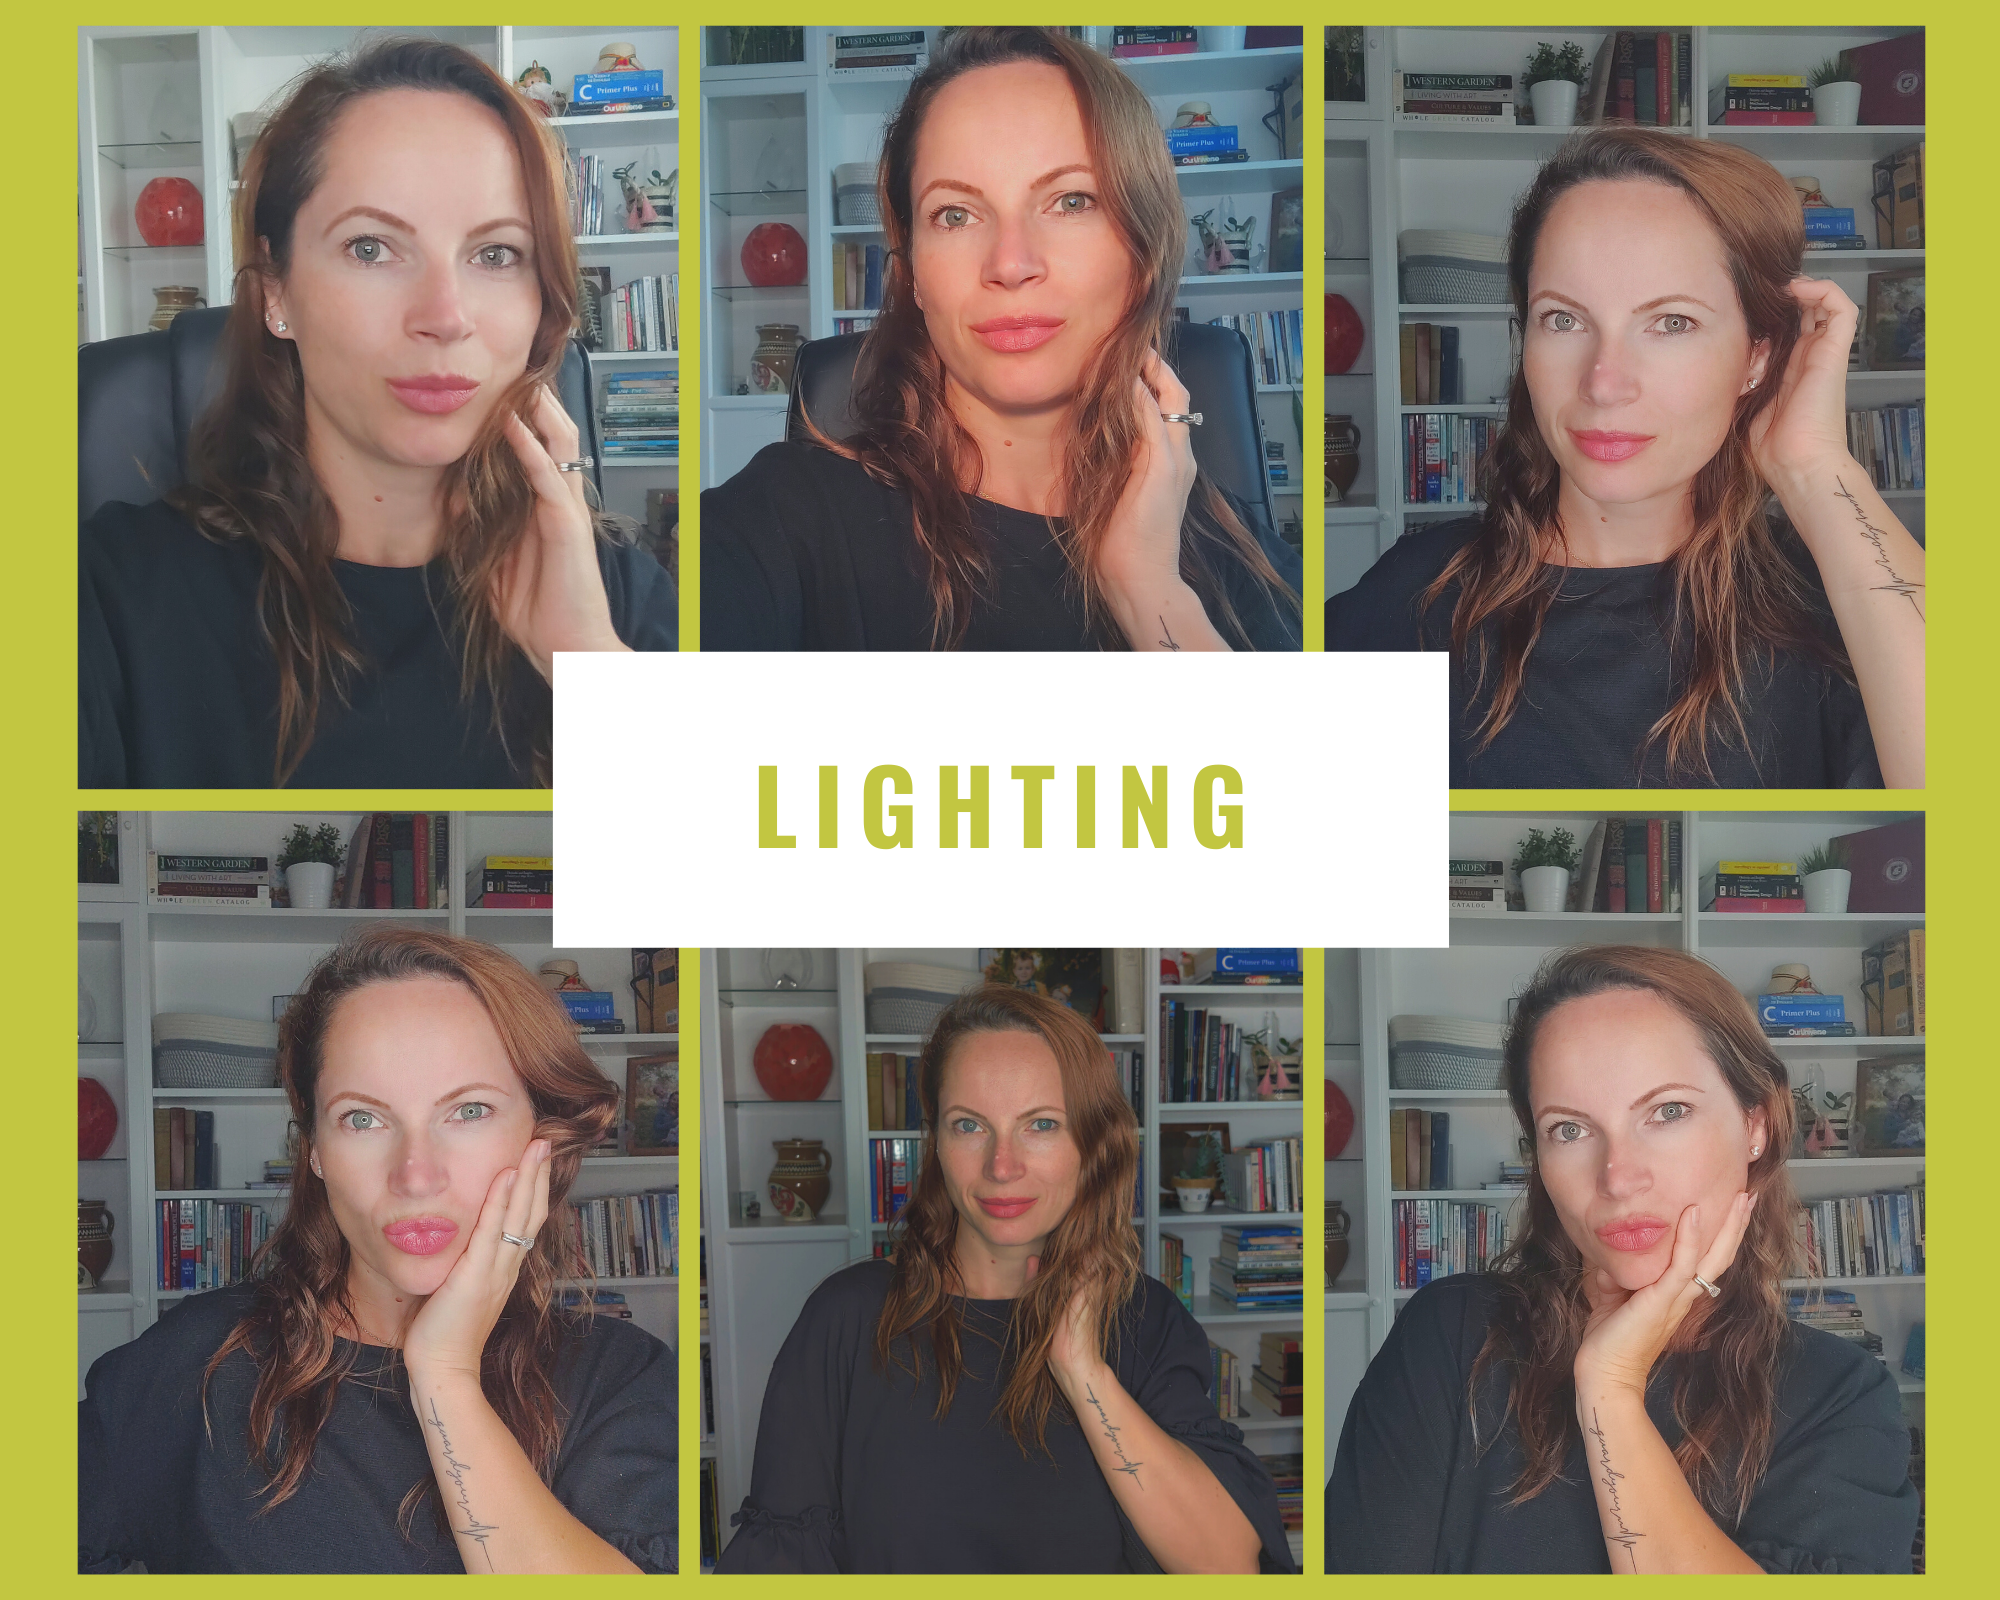
Best lighting is natural lighting, with the lighting source coming from a bright window in front of you, and not from behind, or sidelines. If that’s not possible, the next best thing is to experiment with different lighting compositions (gather all the lamps in your house!) and see how that affects your visuals on the camera. If you can’t avoid using an overhead lighting source, make sure you add two or three more lighting sources for front and side lighting so you don’t get the halo lighting effect. If all you’ve got is one lighting source, make that your front lighting. While having a ring light is very popular these days (made popular in Instagram videos), be aware of the ring reflection in your glasses or eye pupils, as well as the intensity and temperature of the lighting used.
L – location
Last, but not least, let’s not forget about the background. Simple backgrounds are best. If it’s cluttered, consider moving your setup to a more minimalist location or if that’s not an option, invest in a photography backdrop like this green screen fabric found on Amazon, which is also necessary when using a virtual background (like the Zoom ones) so that you don’t get the disembodied effect on camera where a side of your body or your limbs disappear into the background. Clothing choices should be intentional but most importantly, to make you feel confident in your skin. So if you must wear that peacock feathers headband, by all means do. Small patterns or stripes makes for a very distracting, distorted image so maybe stay away from those, if possible.
S – speed
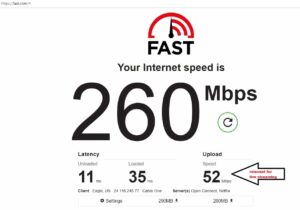
This last tool is so simple, it’s silly, it’s an internet speed test and it’s a great indicator of how well your live will go, based on the data collected. If I need to get more specific with having to know exactly the type of upload speed I’m dealing with, I have my virtual speakers go either to fast.com or run an Ookla speed test. They’re both comparable and equally accurate in my experience, although I must say, American upload speeds are generally much higher than say European ones so in so many ways you will end up bench-marking based on the geographical location of your virtual speakers. For my virtual taste, anything above 20 Mbps will do for someone calling in virtually. As far as for myself, it has to be over 50 to run one stream in 1080p without any packet loss.
Other important considerations are related to how you present your content – and this video here produced by a professional virtual speaker gives out some amazing tips – how engaging is the story line and how much do you allow room for interaction with your audience. Reading from a script, constantly looking at your notes, moving your eyes off camera breaks the connection with the online viewer and can become distracting. Try to memorize your key points and speak into the camera into a conversational manner like you would with a friend, making sure not to speak too fast or too slow and making use of intentional pauses to grab the audience’s attention. Project your energy by using your hands (not excessively) and speaking with passion while being in control of your body language and your breathing. Recording yourself and watching the replay will highlight the things you need to work most on and so, be prepared by practicing before going live. As a virtual speaker, you are going to get thrown off your rhythm if you are stumbling and fumbling over your words, so do a dry run, or two or three.
For other virtual event speaker performance tips, check out this blog that goes into much more details on how to prepare for a webinar or a live broadcast as a remote virtual speaker.
Also, here’s a short 5 min video about 5 strategies for Speaking with Presence + Power when presenting virtually.
 In conclusion, any remote speaker in this virtual world has to embrace the fact that the burden of providing production value to their clients falls on their end now. The client gets to save money on the production side but as a virtual speaker you’ve got to bring it to the table by upping your game and embracing technology, or hire someone to do it for you wherever you are, at home. The Virtual Event Producer and the production company on the other end of your stream can’t control your audio, your lighting or the camera angels anymore if you’re presenting virtually, only you can. But here’s the good news, you now get the chance to charge more for your services if you’re able to bring your production level up and if the quality of your virtual presentations add so much more value that the client has no choice but to foot the bill. But it’s up to you for your content and your technical setup to be worthy of that bigger fee. If you’re still feeling overwhelmed of what that even means or might look like, you know where to find us.
Download these VIRTUAL PRESENTER C.A.L.L. TIPS so you always have it ready to share with your hosts.
——————————————-
If your an event planner organizing and hosting your first virtual event, here are the three major takeaways. In order to organize a successful virtual event, you’ve got to have a perfect mix of these three important elements:
- First, select/create the best of the best content for your virtual event and allow your audience time to interact with it,
- Second, think about your event as a TV production style and hire the right professionals to create that experience for you,
- Third, choose the right emcee/host/presenter/speaker by ensuring the person is skilled in presenting virtually, understands the process and fosters audience engagement.