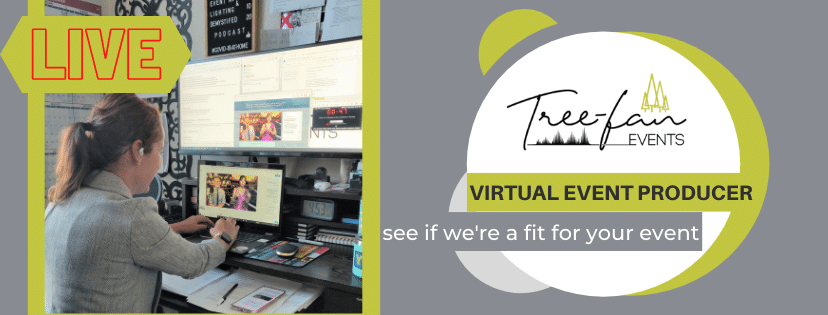
One year into virtual events and by now it’s quite clear how important great content is when it comes to any virtual or hybrid event, regardless of what type or kind of an event that is. A lot of the content however ends up being created and produced by regular people, on regular machines, in regular home offices, without much access to a professional service or production studio.
This post is intended to help those people, the regular Joes that need to make things work with what they’ve got. We won’t go into gear choices and whatnot, just yet, leaving that part for another post, right now our focus is on the framework around which your video content can get to the next level of professionalism. So buckle up, and let’s dive right in.
The first and foremost step is, as much as some of you will hate this, it must happen first:
1. Plan ahead
As you plan what your content will be, start asking yourself a few simple questions:
- What is it that you want to produce?
- Who is the target audience for this content?
- What is the best location for this content to be recorded?
- What is the key message that needs to be communicated?
- When watching this content, what would you like the audience to think, feel, and do?
If you’re one of the lucky ones that actually have a team to bounce ideas off of and delegate some of the tasks to, make sure your team knows what is expected of them beforehand, as this simple step will minimize mistakes and unnecessary wasted time. Allow the “talent” in front of the camera, enough time to prepare themselves as usually most regular people are not always super comfortable behind or in front of the camera. While we do recommend having a script, if a script is used, make sure the sight of line is not off the camera so that the eye connection is not lost with the audience on the other side of the lens and the communication comes off as natural as possible. You can also employ a teleprompter to keep the eyes focused on the camera, or if that’s not in the budget or easily available, simply having the person memorize the talking points will suffice, and keep the message natural and authentic, opposed to some overly scripted videos that can come across as disingenuous and cold.
2. Record multiple takes of the same video from different angles
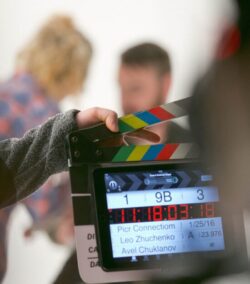
Allow time for recording 2-3 versions of the same content/ talking head/ etc, as this allows you to edit a final product of the best parts of each. It also allows you to edit out any unforeseen mistakes and give you the ability to cut between different angles. If you’re both the videographer and the ‘talent’, making the setup as simple and smooth as possible is key as it will allow you to focus on what needs communicating vs the technology used to create the content. However, pro tip here, especially if the camera employed for this task is the actual phone device, make sure you film everything in a landscape format, even as filming in portrait mode is super tempting especially since the advent of IGTV and Instagram. The portrait format limits your footage to only a few very specific platforms and it certainly won’t look good for a virtual event that’s produced in a widescreen format.
If you have a higher grade camera that allows you to film in 4K, you can always crop your footage with any editing software to suit the desired video format for live-streaming as well as repurposing that content for any platform out there, be it YouTube, Facebook, or Instagram posts and stories.
3. Use simple, straight cuts in transitions
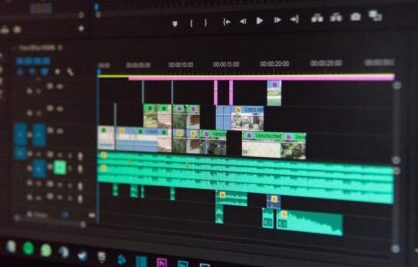
Photo by Wahid Khene on Unsplash
There was a time when using crazy transitions was all the craze. These days, using one too many crazy transitions in your video makes it look cheap and unprofessional. Take a moment to pay attention to modern filmmaking: simple, straight cuts are the most commonly used transition. Use these to cut away to other shots and refrain from using wipes, spins, and any other type of crazy transition method that’s not straight-up simple. If you use music with your videos, your music track should have a repetitive beat every 3-4 seconds. Making your cuts every 2-3 seconds, to an energetic, upbeat song, will really help create a lively video. If your video content is intended for live-streaming, make sure whatever the music track you use, it is either original (see Fable Score for original music for hire) or royalty-free, although, in our experience, even the royalty-free music collection libraries have the potential to generate copyright claim issues on YouTube.
4. Use the rule of thirds
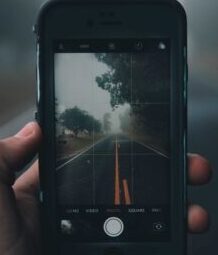
Photo by Will Suddreth on Unsplash
The rule of thirds is very commonly used in photography and it best describes a basic compositional structure of taking an image and splitting it into 9 segments by using 3 vertical and 3 horizontal lines. When you shoot any video content, keep the rule of thirds in mind as well. Imagine that your shot is divided into nine sections, using two horizontal and vertical lines. Position your primary subject where the lines intersect. This will be either on the left or on the right-hand side of your frame.
The reason why this matters is because our eyes are naturally being drawn towards the top right or left points of any image, so positioning your main focal point in one of those positions is best for captivating a digital audience’s attention.
5. Save and organize well your project files
This one is a tip I learned the hard way. I rarely used to save my project files thinking once the editing was done I would simply move to the next project and so on. With virtual event content, more often than not, you could find yourself having to go back to re-editing the same content at a client’s request or because the desired length wasn’t met or who knows the reason and not having saved the project files means you’re practicing having to start your editing on that file all over again. Regardless of the software you use for editing, create a saving and organizing system for yourself that you will be able to easily implement, and before you know it, it will become a habit. If you’re only needing to create one video file as part of a larger content deliverable, it’s still a good idea to save your project file, for the very same reason described above.

Photo by George Kroeker on Unsplash
Hope these five simple tips will help you create video content that is both captivating but also professional looking. We haven’t touched on any equipment intentionally for the purpose of keeping this topic short and sweet. Stay tuned for a follow-up post that will dive deeper into audio and video equipment recommendations for making the best content possible on an affordable budget.
For specific tips for Virtual Presenters presenting Live from in-home studio setups, check out this Blog Post.